Test LED with Digital and analog multimeter
Test led with multimeterLED TESTING
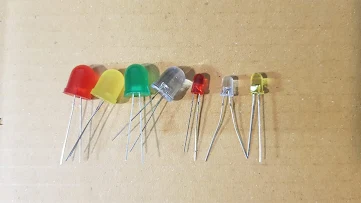
LED is a kind of diode and it is a basic electronic device on circuit so it's good to know how to check LED good or bad. The common size available on the market is 3mm 5mm and 10mm Dia which is popular type and other size and style are produced too but it use with some equipment. . Before checking LED , it need to know the most important information
1). Specification of LED 2) Test Function of multimeter to check LED.
After learning these 2 points then we can move to step to LED checking.
1). Specification of LED 2) Test Function of multimeter to check LED.
After learning these 2 points then we can move to step to LED checking.
LED size and color
1). Specification of LED.
Led is a low current consumption device. Don't let too much current flow through it when using at circuit it always need limiting current resistor to decrease the current. Limiting resistor calculation will be discussed when make a circuit design. Generally small led need current around 10-25mA and big led around 20-50mA so when check it by analog multimeter use the proper current range to check it and don't hold the test lead for a long minute , we will describe on the next section.
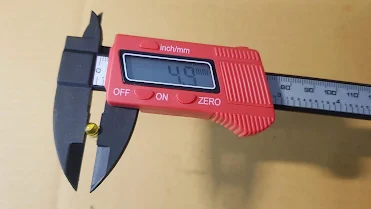
LED Size 5mm
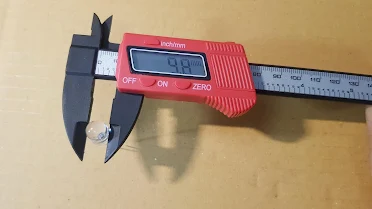
LED Size 10mm
The basic LED has 2 terminals , namely , Anode and Cathode. How to know which one is Anode , the longer lead is Anode terminal and the lead that has a big metal part inside the len is Cathode.
There is LED symbol on circuit diagram and PCB , this is useful for LED installing and explain the circuit operation.
LED terminals notice
2) Test Function of multimeter. Refer to Analog multimeter
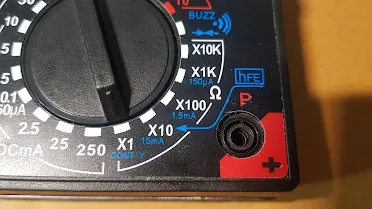
We use Rx1 range and Rx10 range resistance test function to check LED , see on the multimeter you will find Rx1 range = 150mA , Rx10 =15mA , Rx100 = 1.5mA , Rx1K = 150uA. It means when you turn rotary switch to resistance test function there is current and voltage at the test leads. for example Rx1 = 150mA 3VDC , Rx100 = 15mA 3VDC ect. 3VDC supply from internal battery size AA 2pcs. We use these voltage and current from the test leads to check LED. Be notice from diagram below that the red test lead connect with negative polarity of internal battery so the red test lead is V- and the black test lead connect with positive polarity of internal battery so the black test lead is V+ e. This information is useful when testing mode as forward bias or reverse bias to LED , including test Diode , Zener Diode.
Rx1 range supply 150mA 3VDC at the test leads.
Internal connection of test leads when we set to resistance test function.
The red test lead supply - Voltage and the black test lead supply + Voltage.
Step to check LED with digital multimeter.
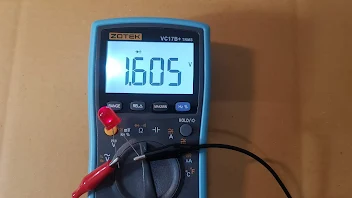
1. Turn the rotary switch of multimeter to Diode test function , it will display diode symbol on screen.
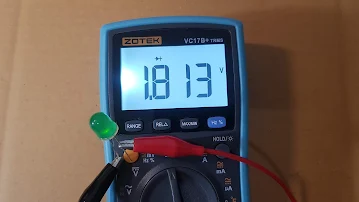
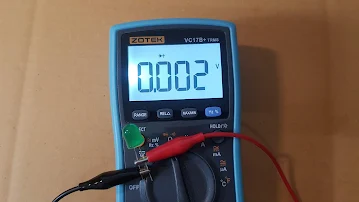
2. Connect the test leads as shown on photo. The good LED will shown voltage drop across LED.
Note different model of digital multimeter , it has the different voltage polarity at the test leads but it is not a problem , you have to make 2 time measurement , switch the test leads and make the second time measurement. It will be automatically forward bias and reward bias.
The good LED , there is voltage drop if supplying forward bias.
There is voltage drop (Forward bias)
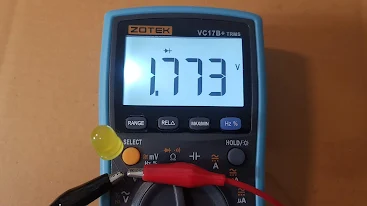
Different LED color has different voltage drop.
Different LED color has different voltage drop.
There is voltage drop (Forward bias)
Different LED color has different voltage drop.
3. Switch the test leads opposite to the first connection ..
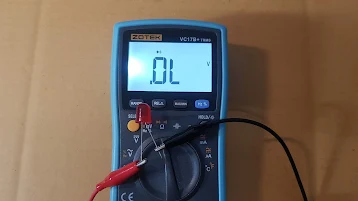
the good LED will display " OL " as shown on photo.
The good LED will display " OL" if supplying Reward Bias
Good LED will display voltage drop 1 time (around 1V-3V it depends on LED color ) and will show " OL " 1 time.
Bad LED (open) will show " OL " 2 times.
Bad LED (shorted) show very low voltage drop 2 times.
Step to check LED with Analog multimeter.
1. Set rotary switch to Rx1 range
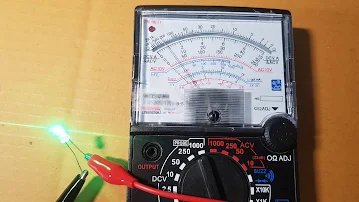
2. connect the test leads and read the result on meter scale.
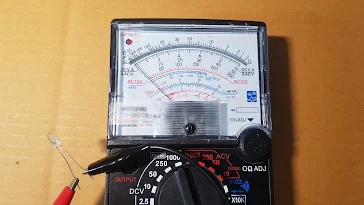
3. switch the test leads opposite to the first measurement and do testing.
Be careful don't hold the test lead with led for a long second as 150mA current from Rx1 range may damage the LED so make the measurement as take a little time as short as possible.
In conclusion...
Good LED will light 1 time and , led does not light 1 time.
Bad LED (open) will show very high resistance the pointer point at ∞ (led does not light) 2 times.
Bad LED (shorted) show very low resistance 0 ohm 2 times.
Good LED light if supplying forward bias.
Good LED does not light if supplying reward bias.
8 Important Testing electronic device on this blog .
Testing electronic device IGBT testing SCR testing Triac Testing Check mosfet and more
Read on this page.
Read more .... all of testing , list of the article here .
